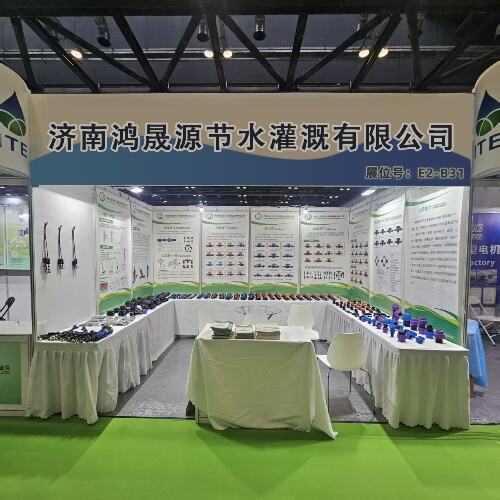
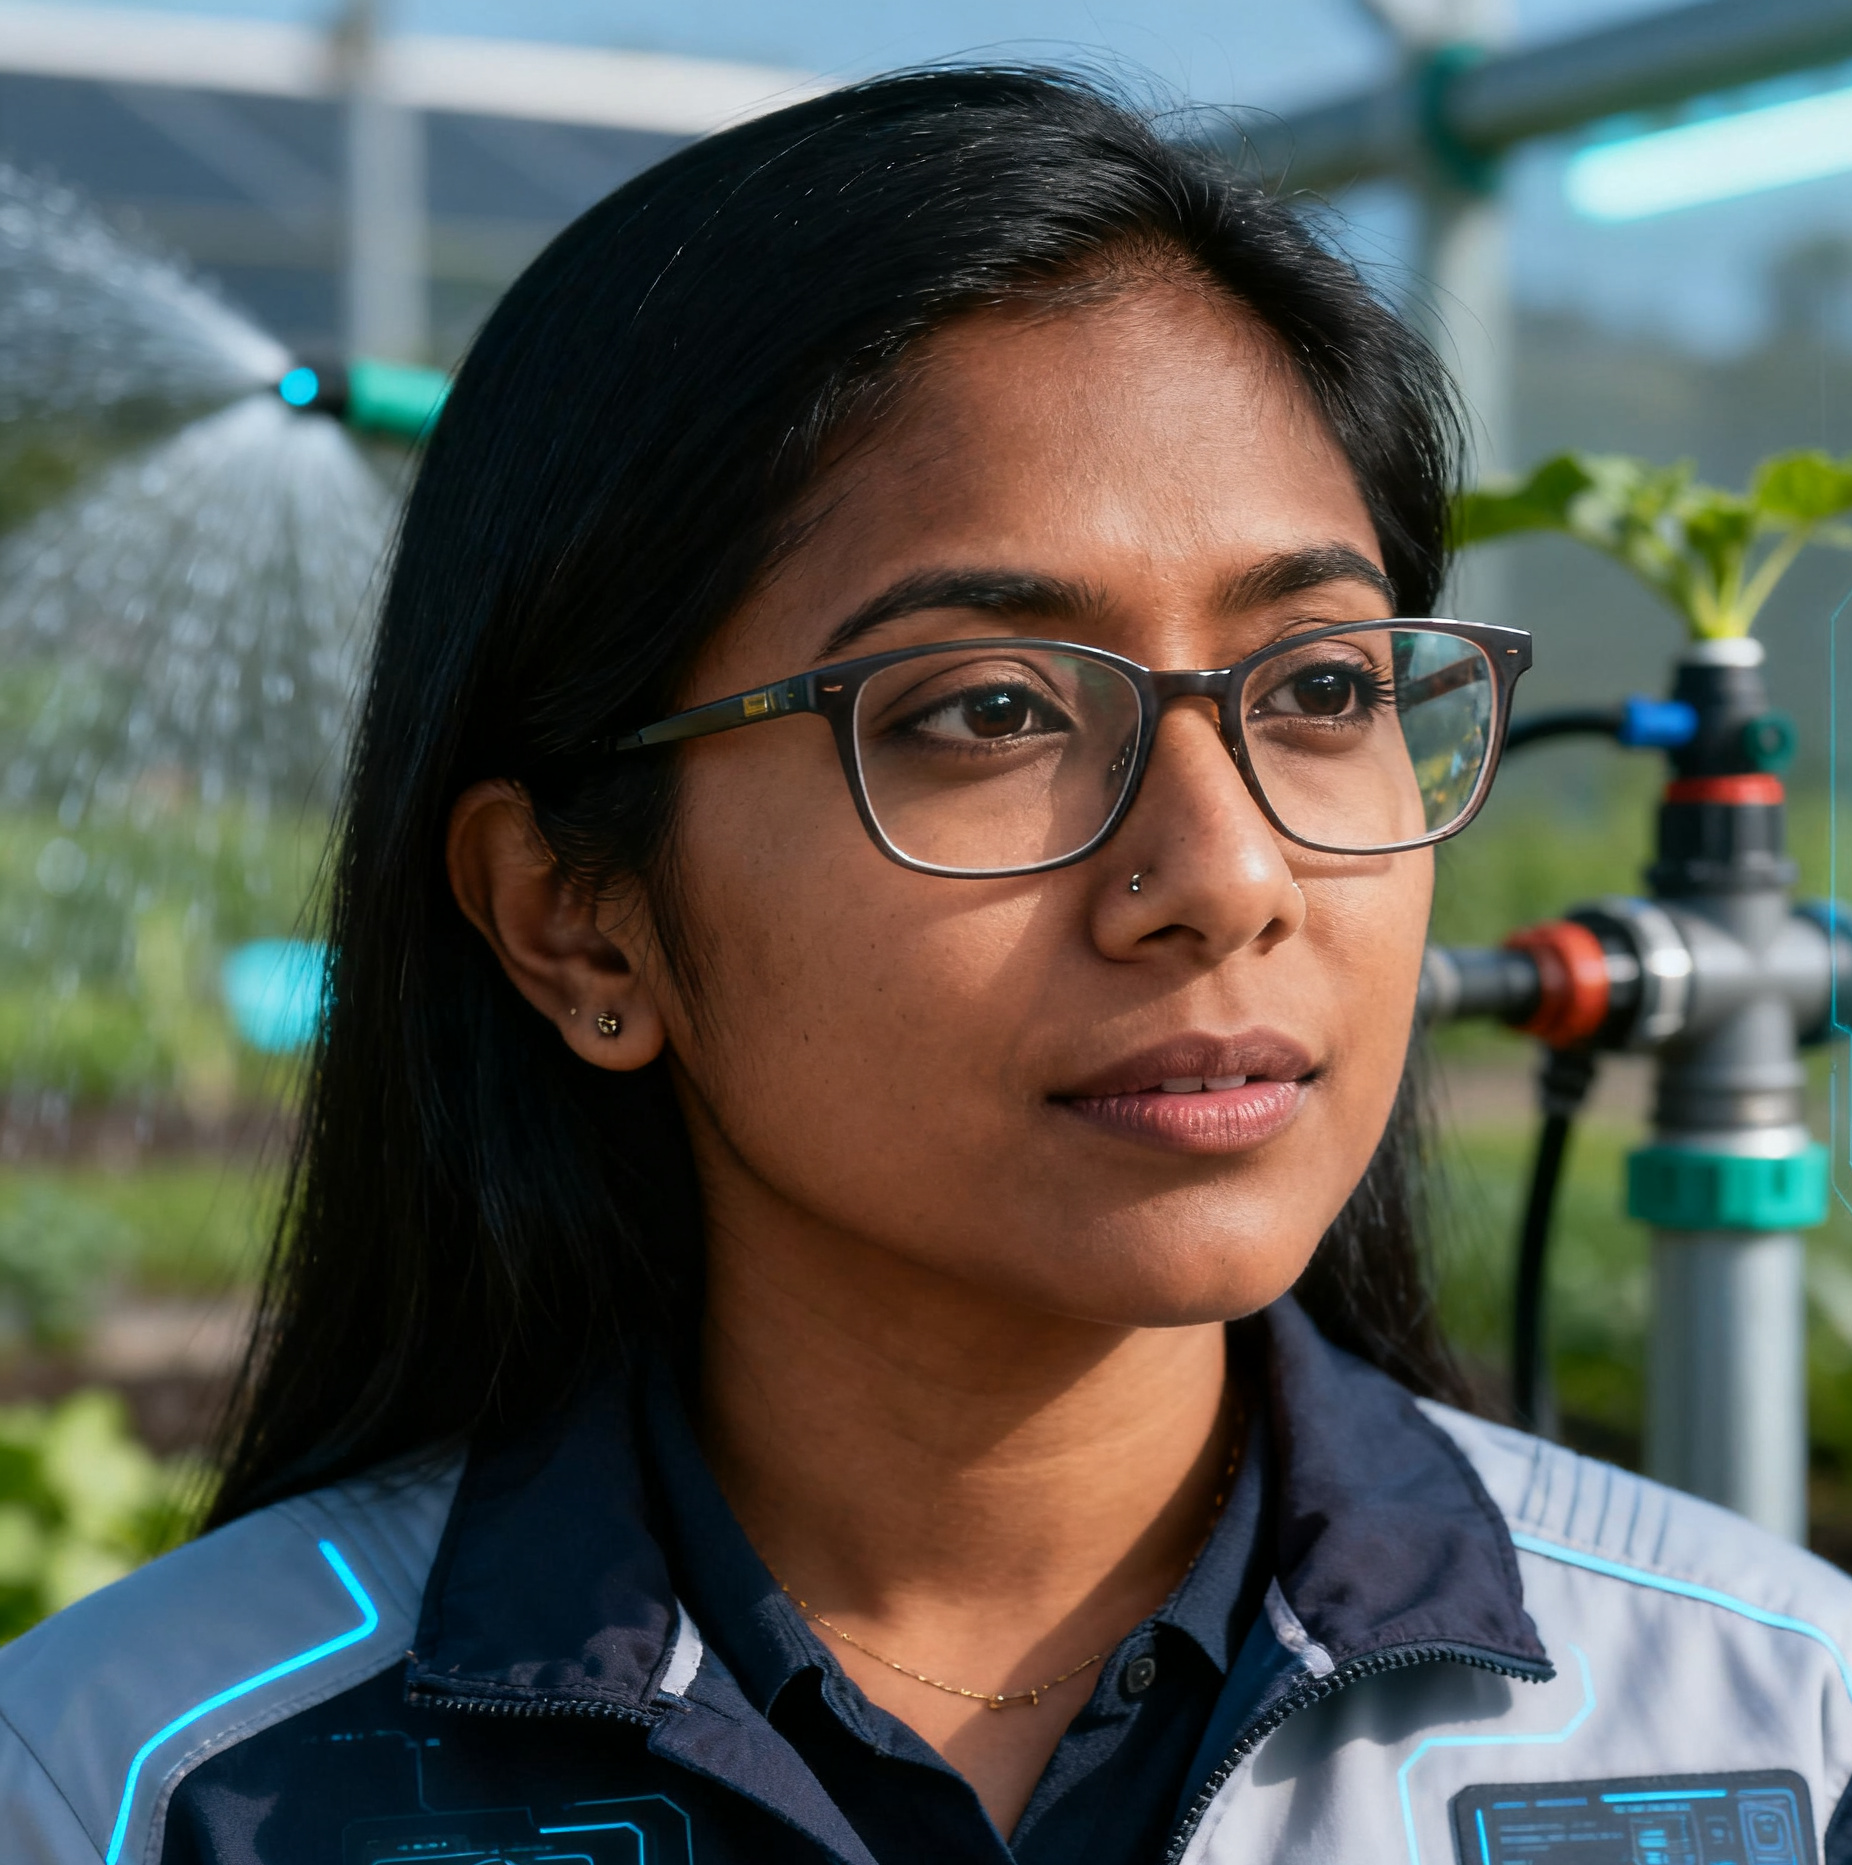
Planning & Preparation
Step 1: Examine Design and Codes Action: Review the engineering drawing or routing plan of the conduit run therefore mapping the route to include bends and connections to the junction boxes.
Why: At this point, you will know how many and what type of fittings you will need (90 degree elbows, couplings, conduit bodies LB or LL, offsets)
Critical: You will have determined the conduit run and provided materials with sufficient spacing to be in compliance with the appropriate electrical code (i.e. The National Electrical Code or NEC in the US and International Electrical Code IEC worldwide). TIO can assist with how close together or how far apart the conduit supports need to spaced, bend radius, and junction box fill.
Step 2: Assemble Materials and Tools Materials: Rigid Conduit (RMC, steel/aluminum or PVC) Associated fittings (RMC fittings are normally threaded, PVC fittings are solvent welded.) Bushings (to protect the wires from abraded cut ends), locknuts and hardware for bonding if RMC conduit for grounding.
Tools: For RMC, Tape measure, Hacksaw or reciprocating saw with metal blade, pipe vise, pipe reamer, conduit threader (manual or electric), 2 pipe wrenches (or pipe wrench and strap wrench), level, fish tape. For PVC, tape measure, hacksaw or PVC cutter, deburring tool, PVC solvent cement and primer, applicator brush and level.
Step 3: Safety First Action: Wear appropriate Personal Protective Equipment or PPE
PPE includes: Safety in protection, heavy duty gloves, long sleeve shirts, and hearing protection if using power tools.