How to Install Hanging Micro Spray for Maximum Efficiency
Efficient irrigation has become one of the most important factors in modern farming. Whether you're managing a greenhouse, a vegetable field, or a fruit orchard, delivering the right amount of water to plants can directly affect crop quality and yield.
In recent years, many growers have started using hanging micro spray systems because they provide a simple and effective way to control water distribution. Compared with traditional sprinklers, these systems deliver water more evenly while reducing waste.
However, installing the system correctly is just as important as choosing the right equipment. Even a high-quality irrigation system will not perform well if it is installed poorly.
In this guide, we’ll walk through how to install hanging micro spray systems for maximum efficiency, including preparation steps, installation tips, and common mistakes farmers should avoid.
Understanding How Hanging Micro Spray Systems Work
Before starting the installation process, it helps to understand how a hanging micro spray system actually works.
Unlike drip irrigation, which delivers water directly at the soil surface, hanging micro spray emitters are suspended slightly above the plants. When water flows through the system, the emitters release a fine spray pattern that spreads moisture evenly across the crop area.
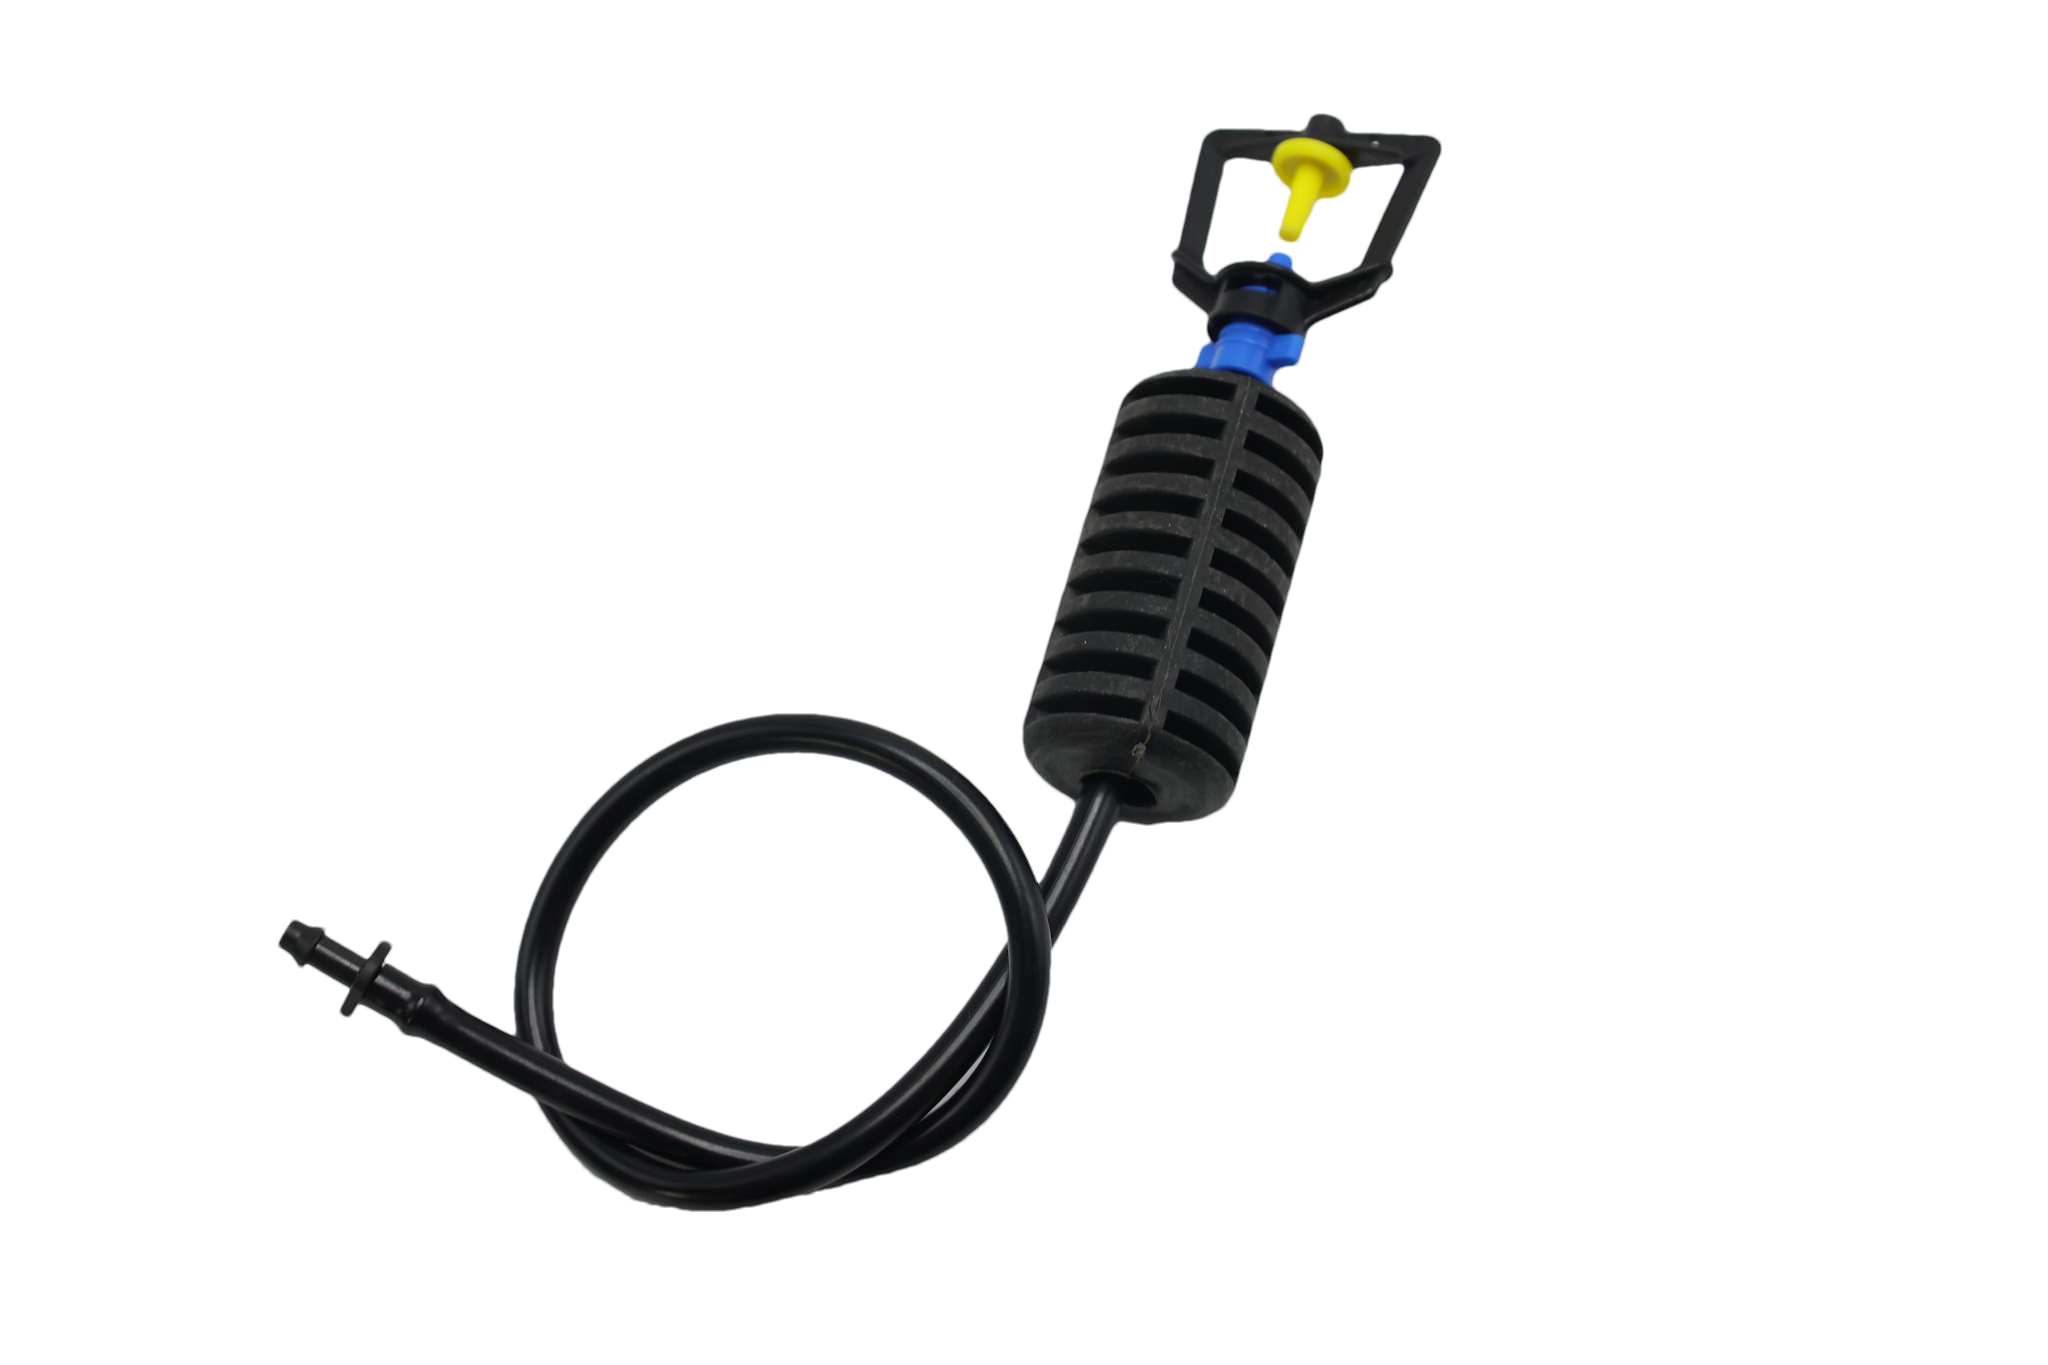
A typical hanging micro spray irrigation system usually includes several key components:
-
main irrigation pipe
-
micro tubing lines
-
hanging spray emitters
-
pressure regulators
-
filtration units
These components work together to maintain stable water pressure and ensure each emitter distributes water consistently.
Because the spray heads are suspended above the crops, the system can cover a wider area compared with many ground-based irrigation methods.
Step 1: Plan the Irrigation Layout
The first step when installing a hanging micro spray system is planning the irrigation layout.
Proper planning helps ensure that water reaches every plant evenly without creating dry spots or overwatered areas.
Start by measuring the total planting area and determining the spacing between crops. This information will help you decide how many spray emitters are needed and where they should be positioned.
For example, vegetable crops usually require closer emitter spacing than fruit trees. In greenhouses, growers often install hanging micro sprays along support wires or irrigation pipes above the plant rows.
At this stage, it’s also important to consider water pressure and flow capacity. If the system is too large for the available water supply, some emitters may not perform properly.
Step 2: Install the Main Water Line
Once the irrigation layout is finalized, the next step is installing the main water supply line.
The main pipe carries water from the pump or water source to the rest of the irrigation system. Most farmers use polyethylene (PE) pipes because they are durable, flexible, and resistant to UV damage.
During installation, make sure the main line runs along the central area of the field or greenhouse. This helps reduce pressure loss and ensures more consistent water distribution throughout the system.
At this stage, it is also recommended to install:
-
a filter system to remove debris
-
a pressure regulator to stabilize water pressure
These components are essential for protecting the micro spray emitters from clogging or damage.
Step 3: Connect Micro Tubing
After the main pipeline is installed, the next step is connecting the micro tubing lines that will supply water to each hanging spray emitter.
Micro tubes are typically attached to the main pipe using connectors or barbed fittings. The tubing should then run toward the crop rows where the emitters will be installed.
When installing micro tubing, try to keep the lines as straight as possible. Excessive bending or twisting may reduce water flow and affect system performance.
Farmers often secure the tubing along greenhouse frames or support wires to keep it organized and prevent damage during daily operations.
Step 4: Install the Hanging Micro Spray Emitters
Now comes the most important part of the process—installing the hanging micro spray emitters.
Each emitter is connected to the end of a micro tube and suspended above the crops using a small support line or hanger.
The height of the emitter plays an important role in irrigation efficiency. In most cases, spray heads are positioned 30 to 60 centimeters above the plants, allowing the water to spread evenly across the root zone.
Proper spacing between emitters is also important. If they are placed too far apart, some areas may not receive enough water. If they are too close, water usage may increase unnecessarily.
Taking time to adjust emitter placement during installation can significantly improve irrigation performance.
Step 5: Test the System and Adjust Spray Coverage
After installing all components, the system should be tested before regular operation begins.
Turn on the water supply and allow the system to run for several minutes. Walk through the irrigation area and observe how the hanging micro spray system distributes water.
During this test, check for several common issues:
-
uneven spray patterns
-
clogged emitters
-
leaking connections
-
insufficient water pressure
If certain areas receive too much or too little water, adjust the emitter height or spacing accordingly.
Small adjustments at this stage can greatly improve irrigation efficiency later on.
Common Installation Mistakes to Avoid
While installing a hanging micro spray irrigation system is relatively simple, a few common mistakes can reduce its effectiveness.
One frequent issue is ignoring water filtration. Without proper filters, small particles in the water can clog emitters over time.
Another mistake is using incorrect water pressure. If pressure is too high, emitters may produce uneven spray patterns or even become damaged.
Finally, some growers place emitters too close to the crop canopy. This can block the spray pattern and prevent water from reaching the soil properly.
By avoiding these problems, farmers can ensure their irrigation system performs reliably throughout the growing season.
Final Thoughts
Installing a hanging micro spray system does not require complex equipment, but careful planning and proper setup are essential for achieving the best results.
When installed correctly, these systems provide consistent water coverage, improve irrigation efficiency, and help farmers manage water resources more effectively.
As agriculture continues to focus on precision irrigation, hanging micro spray technology offers a practical solution for growers who want reliable performance without complicated infrastructure.
With the right installation approach, farmers can maximize the efficiency of their irrigation system while supporting healthier crop growth.
Table of Contents
- How to Install Hanging Micro Spray for Maximum Efficiency
- Understanding How Hanging Micro Spray Systems Work
- Step 1: Plan the Irrigation Layout
- Step 2: Install the Main Water Line
- Step 3: Connect Micro Tubing
- Step 4: Install the Hanging Micro Spray Emitters
- Step 5: Test the System and Adjust Spray Coverage
- Common Installation Mistakes to Avoid
- Final Thoughts