What Are Soft Strip Fittings? Design, Compatibility, and Key Advantages
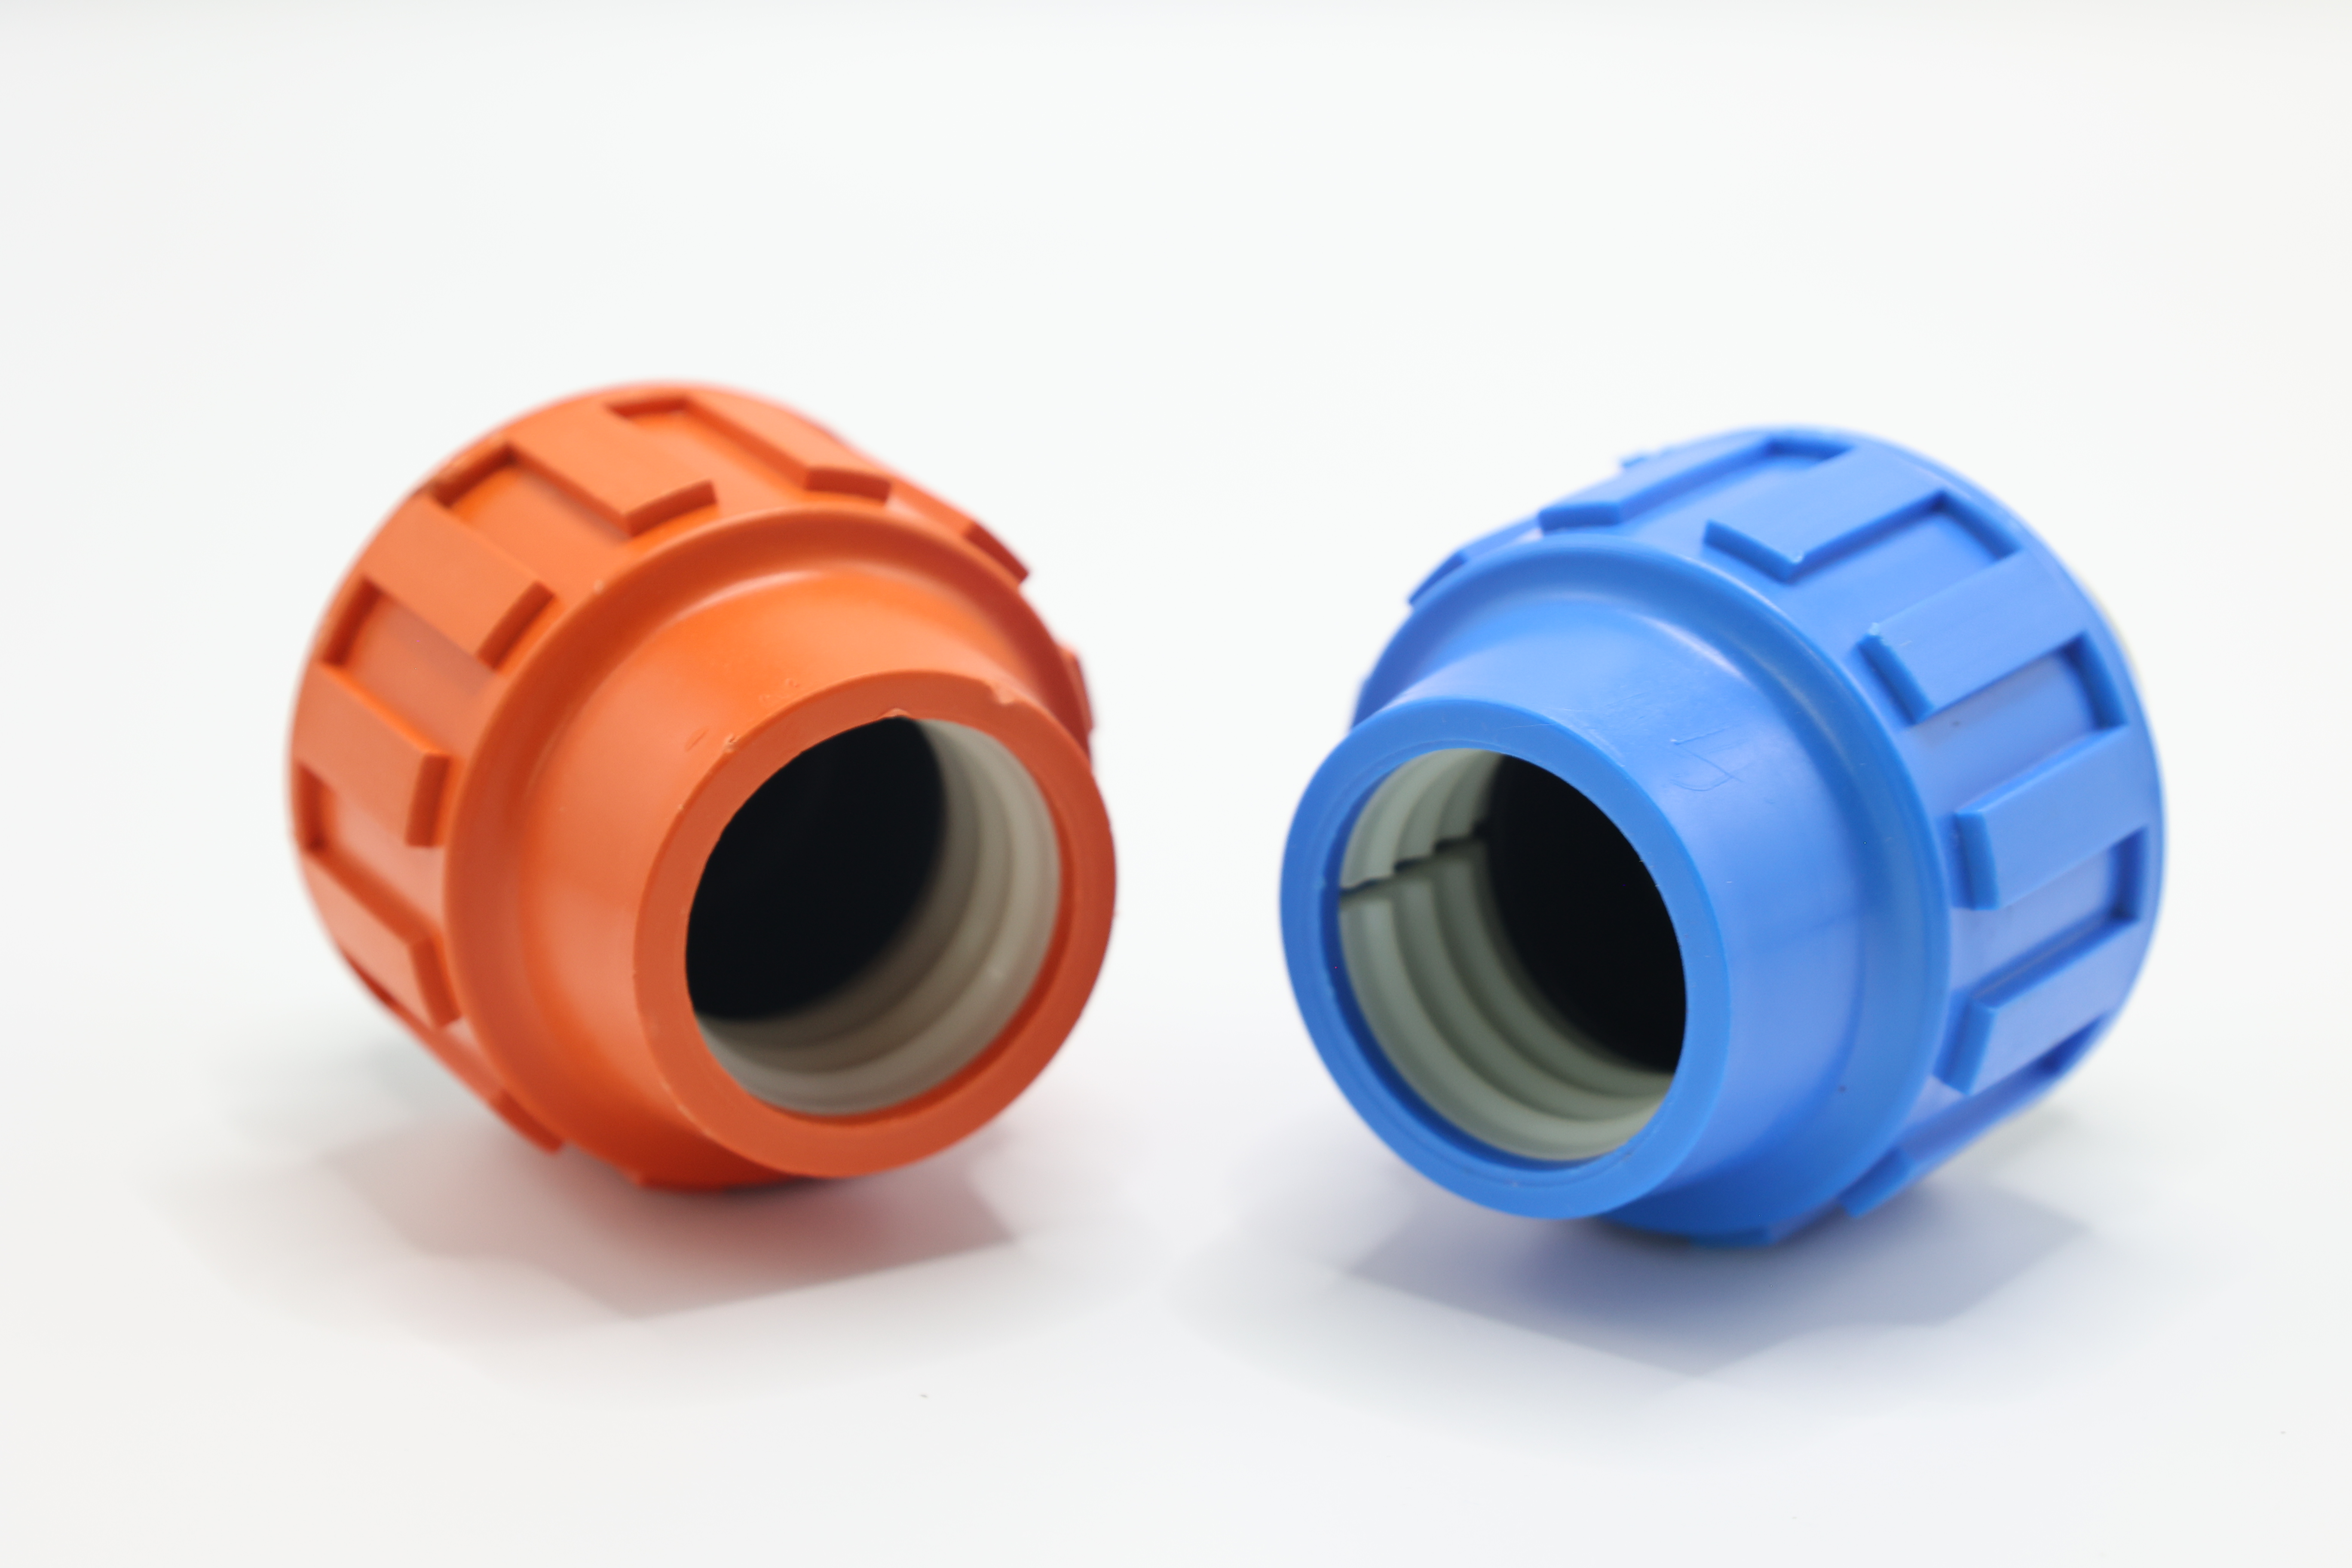
Core Design Principles: Dual-Seal Mechanism and Radial Compression
Soft strip fittings use what's called a dual seal setup with both a compression ring and an O-ring working together to stop leaks effectively. The compression ring presses evenly against the tubing wall, creating that first line of defense. Meanwhile, the O-ring acts as backup protection if anything slips through. What makes these fittings special is how they handle those tiny changes in size that happen when materials expand from heat or get shaken by vibrations something we see all the time in heating systems, water pipes, and industrial equipment without compromising the seal quality. Compared to traditional threaded connections where people often over tighten them accidentally, soft strip fittings spread out the pressure more naturally across the tube surface. This approach cuts down on those small cracks that can form in delicate plastics such as polyethylene and polybutylene, which are commonly used in many applications today.
Tubing Material Compatibility: Optimized Performance with PE, PEX, and Polybutylene
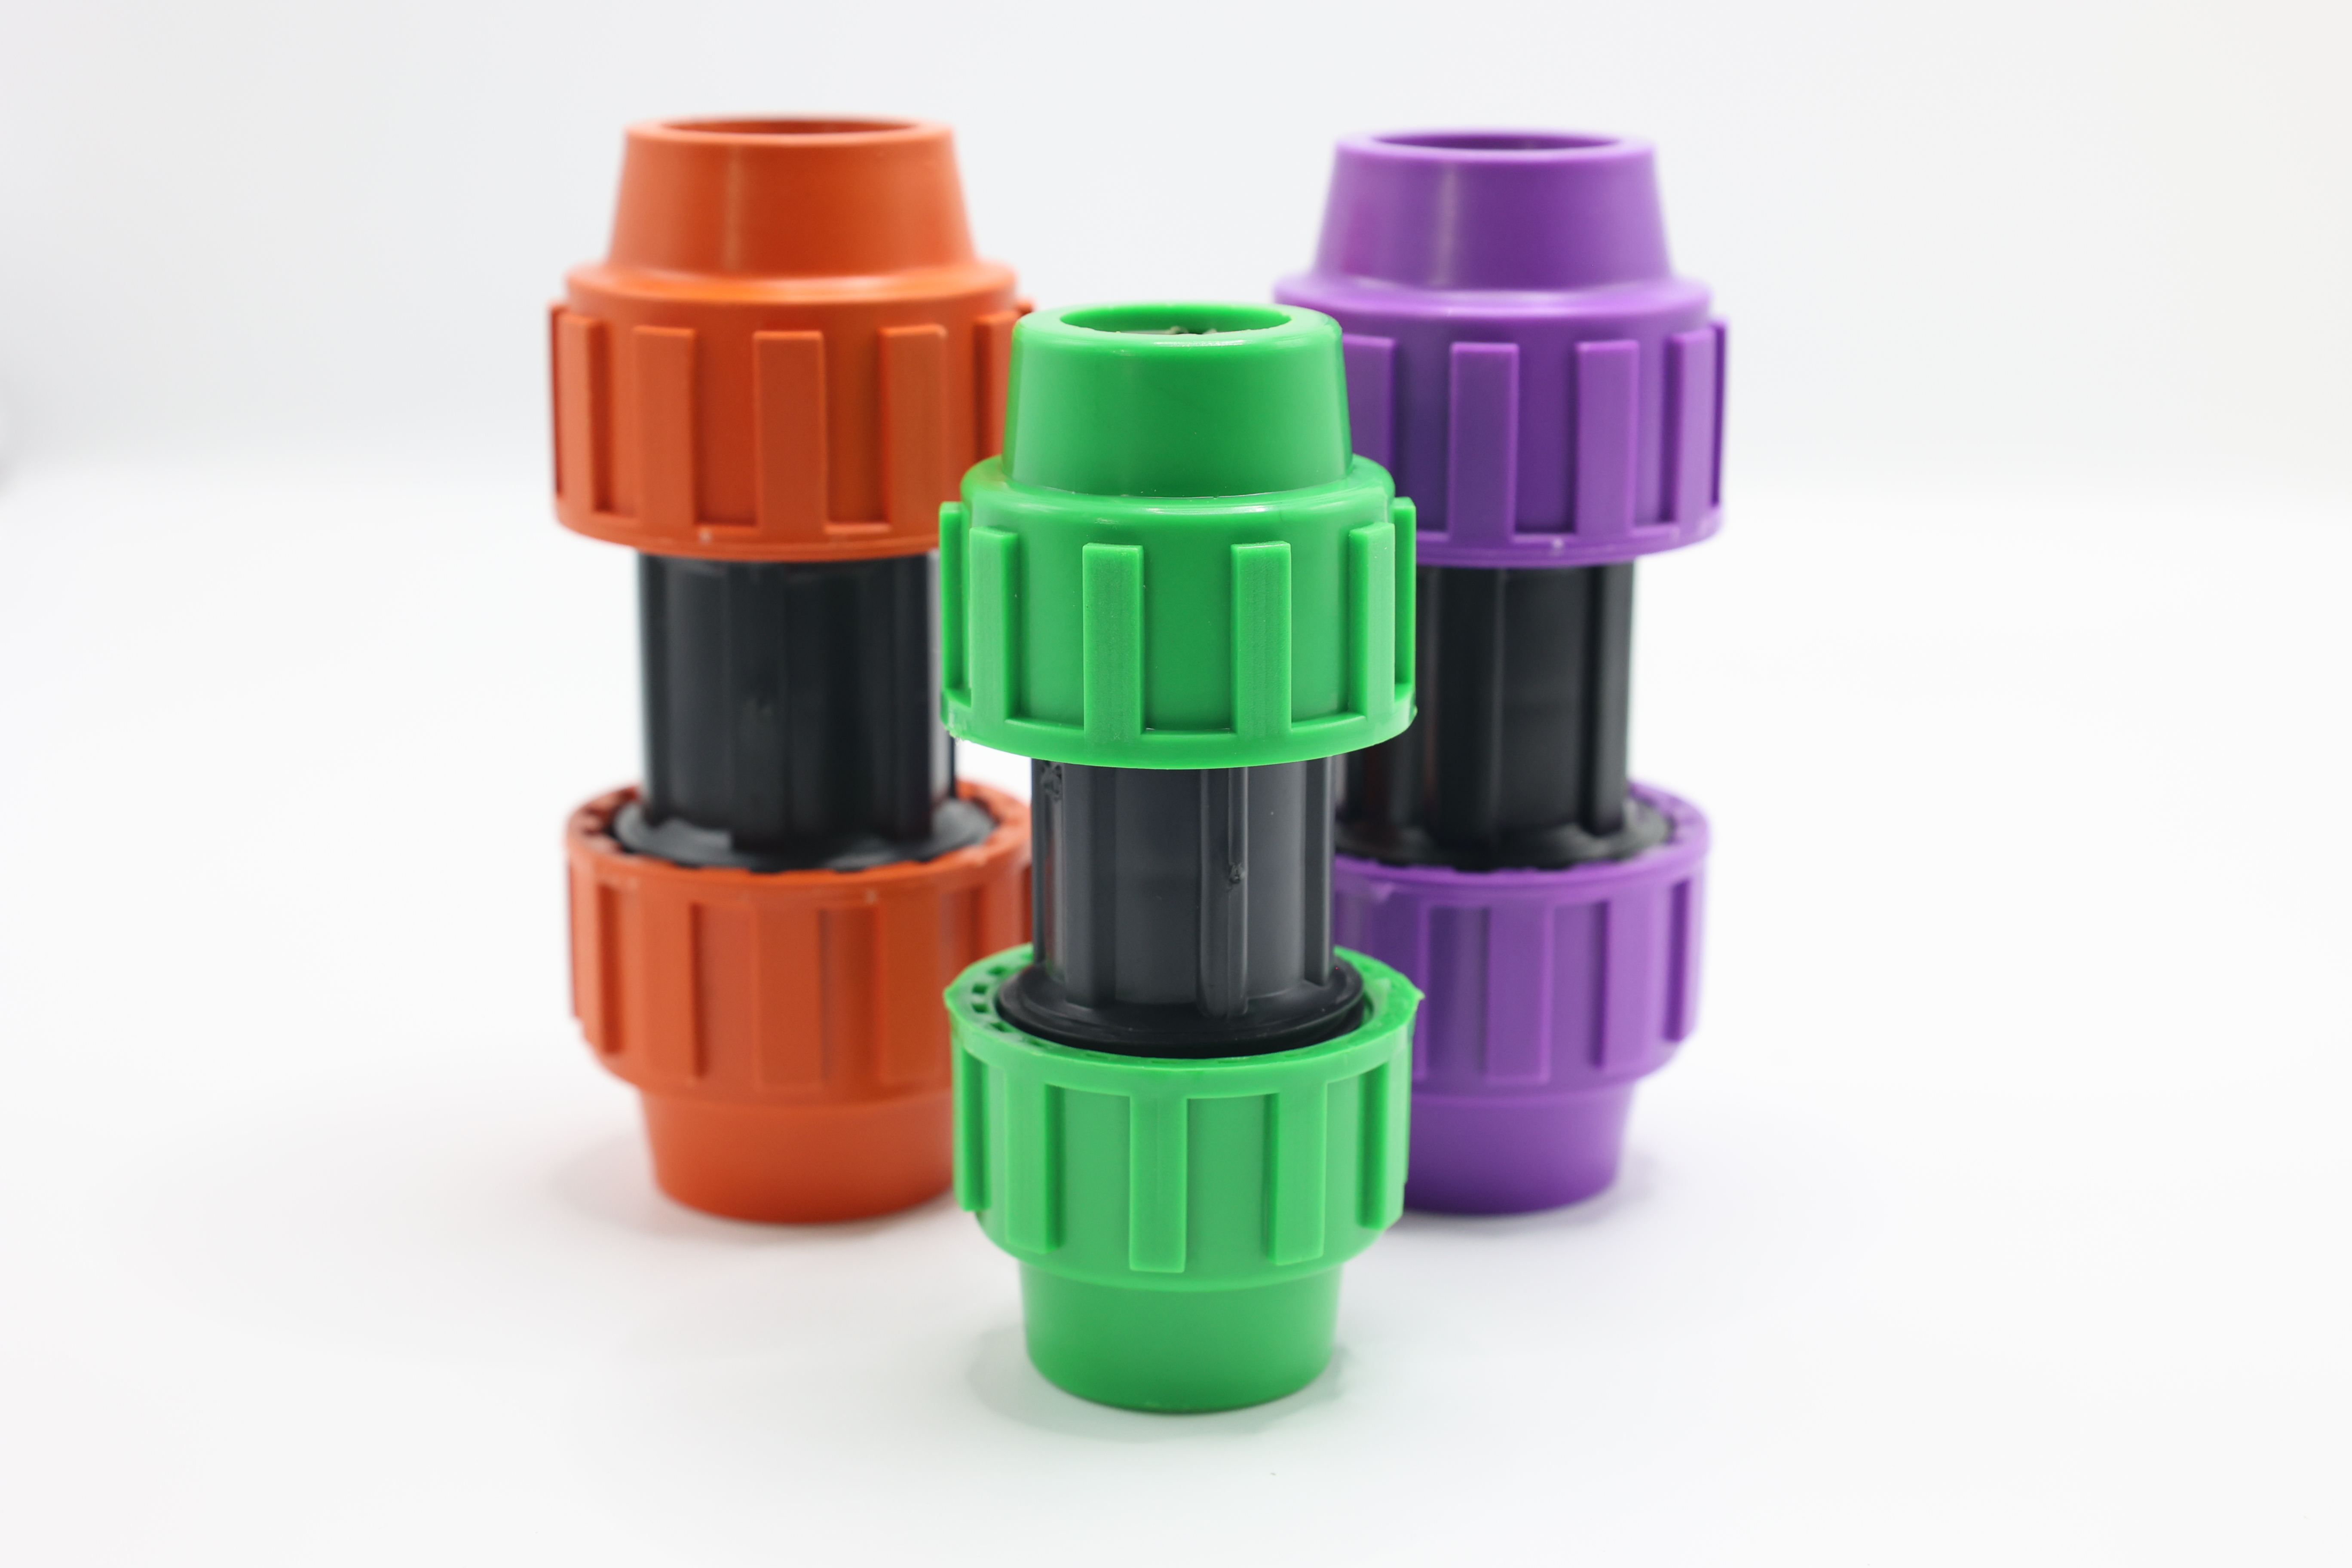
Designed to work well with all sorts of flexible plastic tubing like PE, PEX (cross linked polyethylene) and polybutylene, these fittings handle different materials that expand differently when heated. The special compression design keeps the seal tight even as PEX can stretch about 3% when it gets warm. Polybutylene is another story entirely since this material tends to crack over time from stress. The even pressure from these fittings stops those problems before they start by preventing weak spots from forming. Works great with tube walls between 1.5mm thick up to 4mm thick without needing any glue, chemicals or welding equipment. Having one type of fitting that fits so many different sizes makes stocking spare parts much easier for plumbers and installers who deal with everything from home plumbing jobs to farm irrigation systems and small factory installations too.
Pre-Installation Best Practices for Leak-Free Soft Strip Fitting Installation
Precision Cutting and Ovality Control to Preserve Tubing Integrity
Getting leak free results starts with proper tube prep work. A good rule of thumb is to stick with a quality tube cutter instead of trying to get by with a hacksaw or utility knife. Those angled cuts mess up the seal where things connect and can actually raise the chance of leaks by around 70%. Right after making the cut, grab those digital calipers and check for ovality. If the measurement drifts more than 1% from what the tube should be (think about 0.1 mm difference on 10 mm tubing), then the ring won't seat properly when installed. Any piece that doesn't pass this test needs to go back through the cutting process again before moving forward with assembly.
Deburring, Interior Cleaning, and Surface Readiness Verification
Get rid of any burrs inside and outside the part with a properly set deburring tool. Leftover bits might actually tear an O-ring when it gets installed later on. Next step is to clean out the inside of the tube really well using those special lint free cloths we talked about earlier. Dust, oil spots, and whatever manufacturing stuff stuck around needs to go because these things mess with how good the seal sticks. Take a close look at where the cut was made plus check the area right next to it too. The surface has got to feel smooth to the touch, completely dry, no scratches anywhere, and absolutely nothing foreign embedded in there. Small imperfections on the surface really do matter though they seem insignificant at first glance. These little flaws will weaken the compression over time and make seals fail faster than expected.
Step-by-Step Soft Strip Fitting Installation: From Insertion to Secure Lock
Correct Tube Insertion Depth and Alignment Verification
Getting the insertion depth right matters a lot. Before putting everything together, mark where the manufacturer says it should go on the tubing. Usually this is around 1.5 times the outer diameter of the tube. Check that there's no space left between the end of the tube and the fitting shoulder when it's seated properly. A good idea is to grab some kind of visual guide to help keep things straight. When tubes aren't aligned properly, they create weak spots that can lead to leaks much sooner than expected. According to Fluid Handling Journal from last year, about three quarters of all early system failures come down to improper insertion depth. That makes sense if you think about how stress builds up over time in these connections.
Compression Ring Engagement and Controlled Manual Tightening
Just grab the compression ring and tighten it by hand only, no need for any tools, until you start feeling some steady resistance. Turn the fitting clockwise but keep the tubing still so it doesn't twist or get kinked. Now slowly push down with even pressure until the ring touches the main part of the fitting, creating that first real seal between them. Hold this pressure firmly for around 8 to maybe 10 seconds total. This lets the ring settle properly into place without squishing the tube wall too much, which could cause problems later on.
Torque Guidelines and Over-Tightening Prevention for Soft Tubing
Going past that important limit will actually damage the tube wall, which cuts down on flow by around 35-40% and starts those tiny cracks forming. When doing this work, it's essential to grab a good quality click type torque wrench and pay attention when it clicks at the right setting. Don't keep turning once it reaches that point. Once everything is tightened down properly, take a close look at how the compression ring looks after installation. If one side appears deeper than the other or looks uneven somehow, that means something went wrong during assembly. The whole thing needs to come apart again and be put back together correctly in these cases.
Long-Term Maintenance and Proactive Troubleshooting of Soft Strip Fittings
Routine Visual Inspection Schedule and Early Failure Indicators
Setting up a regular visual check schedule makes sense for soft strip fittings. Most facilities find once a month works well, though those dealing with heavy usage or high pressure systems might want to inspect every other week instead. When looking at fittings during these checks, watch out for certain warning signs that something isn't right. Things like odd shapes appearing in specific areas, color changes, white spots forming on surfaces, or dampness collecting under connections all point to potential problems. A chalky look or markings on metal parts usually means chemicals are getting to them, while tiny cracks spreading from where pressure builds up typically signal wear and tear over time. According to recent research published in Fluid Systems Journal last year, catching these issues early can cut down repair bills by around 40% versus waiting until things break down completely. Each time through, make sure seals are still holding tight, tubing hasn't shifted position or become twisted somehow, and swap out anything that shows rust stains, bends out of shape, or loses its springiness when touched.
FAQs
What are soft strip fittings used for?
Soft strip fittings are primarily used to create leak-proof connections in heating systems, water pipes, and industrial equipment by utilizing a dual-seal mechanism.
Can soft strip fittings be used with all types of flexible plastic tubing?
Yes, they are designed to work effectively with various flexible plastic tubing materials, including PE, PEX, and polybutylene tubes.
How can I prevent leaks when installing soft strip fittings?
Preventing leaks begins with accurate preparation, including precision cutting, deburring, interior cleaning, and verifying surface readiness of the tubing.
What is the importance of torque guidelines in installing soft strip fittings?
Following torque guidelines is crucial to ensure the fitting does not damage the tubing wall, which would decrease flow rate and could result in leaks.
How often should I inspect soft strip fittings for maintenance?
A monthly visual inspection is recommended to detect early signs of wear and tear, although more frequent checks may be needed in high-pressure systems.
Table of Contents
- What Are Soft Strip Fittings? Design, Compatibility, and Key Advantages
- Pre-Installation Best Practices for Leak-Free Soft Strip Fitting Installation
- Step-by-Step Soft Strip Fitting Installation: From Insertion to Secure Lock
- Long-Term Maintenance and Proactive Troubleshooting of Soft Strip Fittings
-
FAQs
- What are soft strip fittings used for?
- Can soft strip fittings be used with all types of flexible plastic tubing?
- How can I prevent leaks when installing soft strip fittings?
- What is the importance of torque guidelines in installing soft strip fittings?
- How often should I inspect soft strip fittings for maintenance?